
SprintRay® 3D Printer Suite in Issaquah, WA
[practice_name] uses the SprintRay 3D Printer in [city], [st] to support precise, in-office fabrication of select dental appliances. This page explains how dental 3D printing fits into care, what it can make, and what patients can expect during treatment.
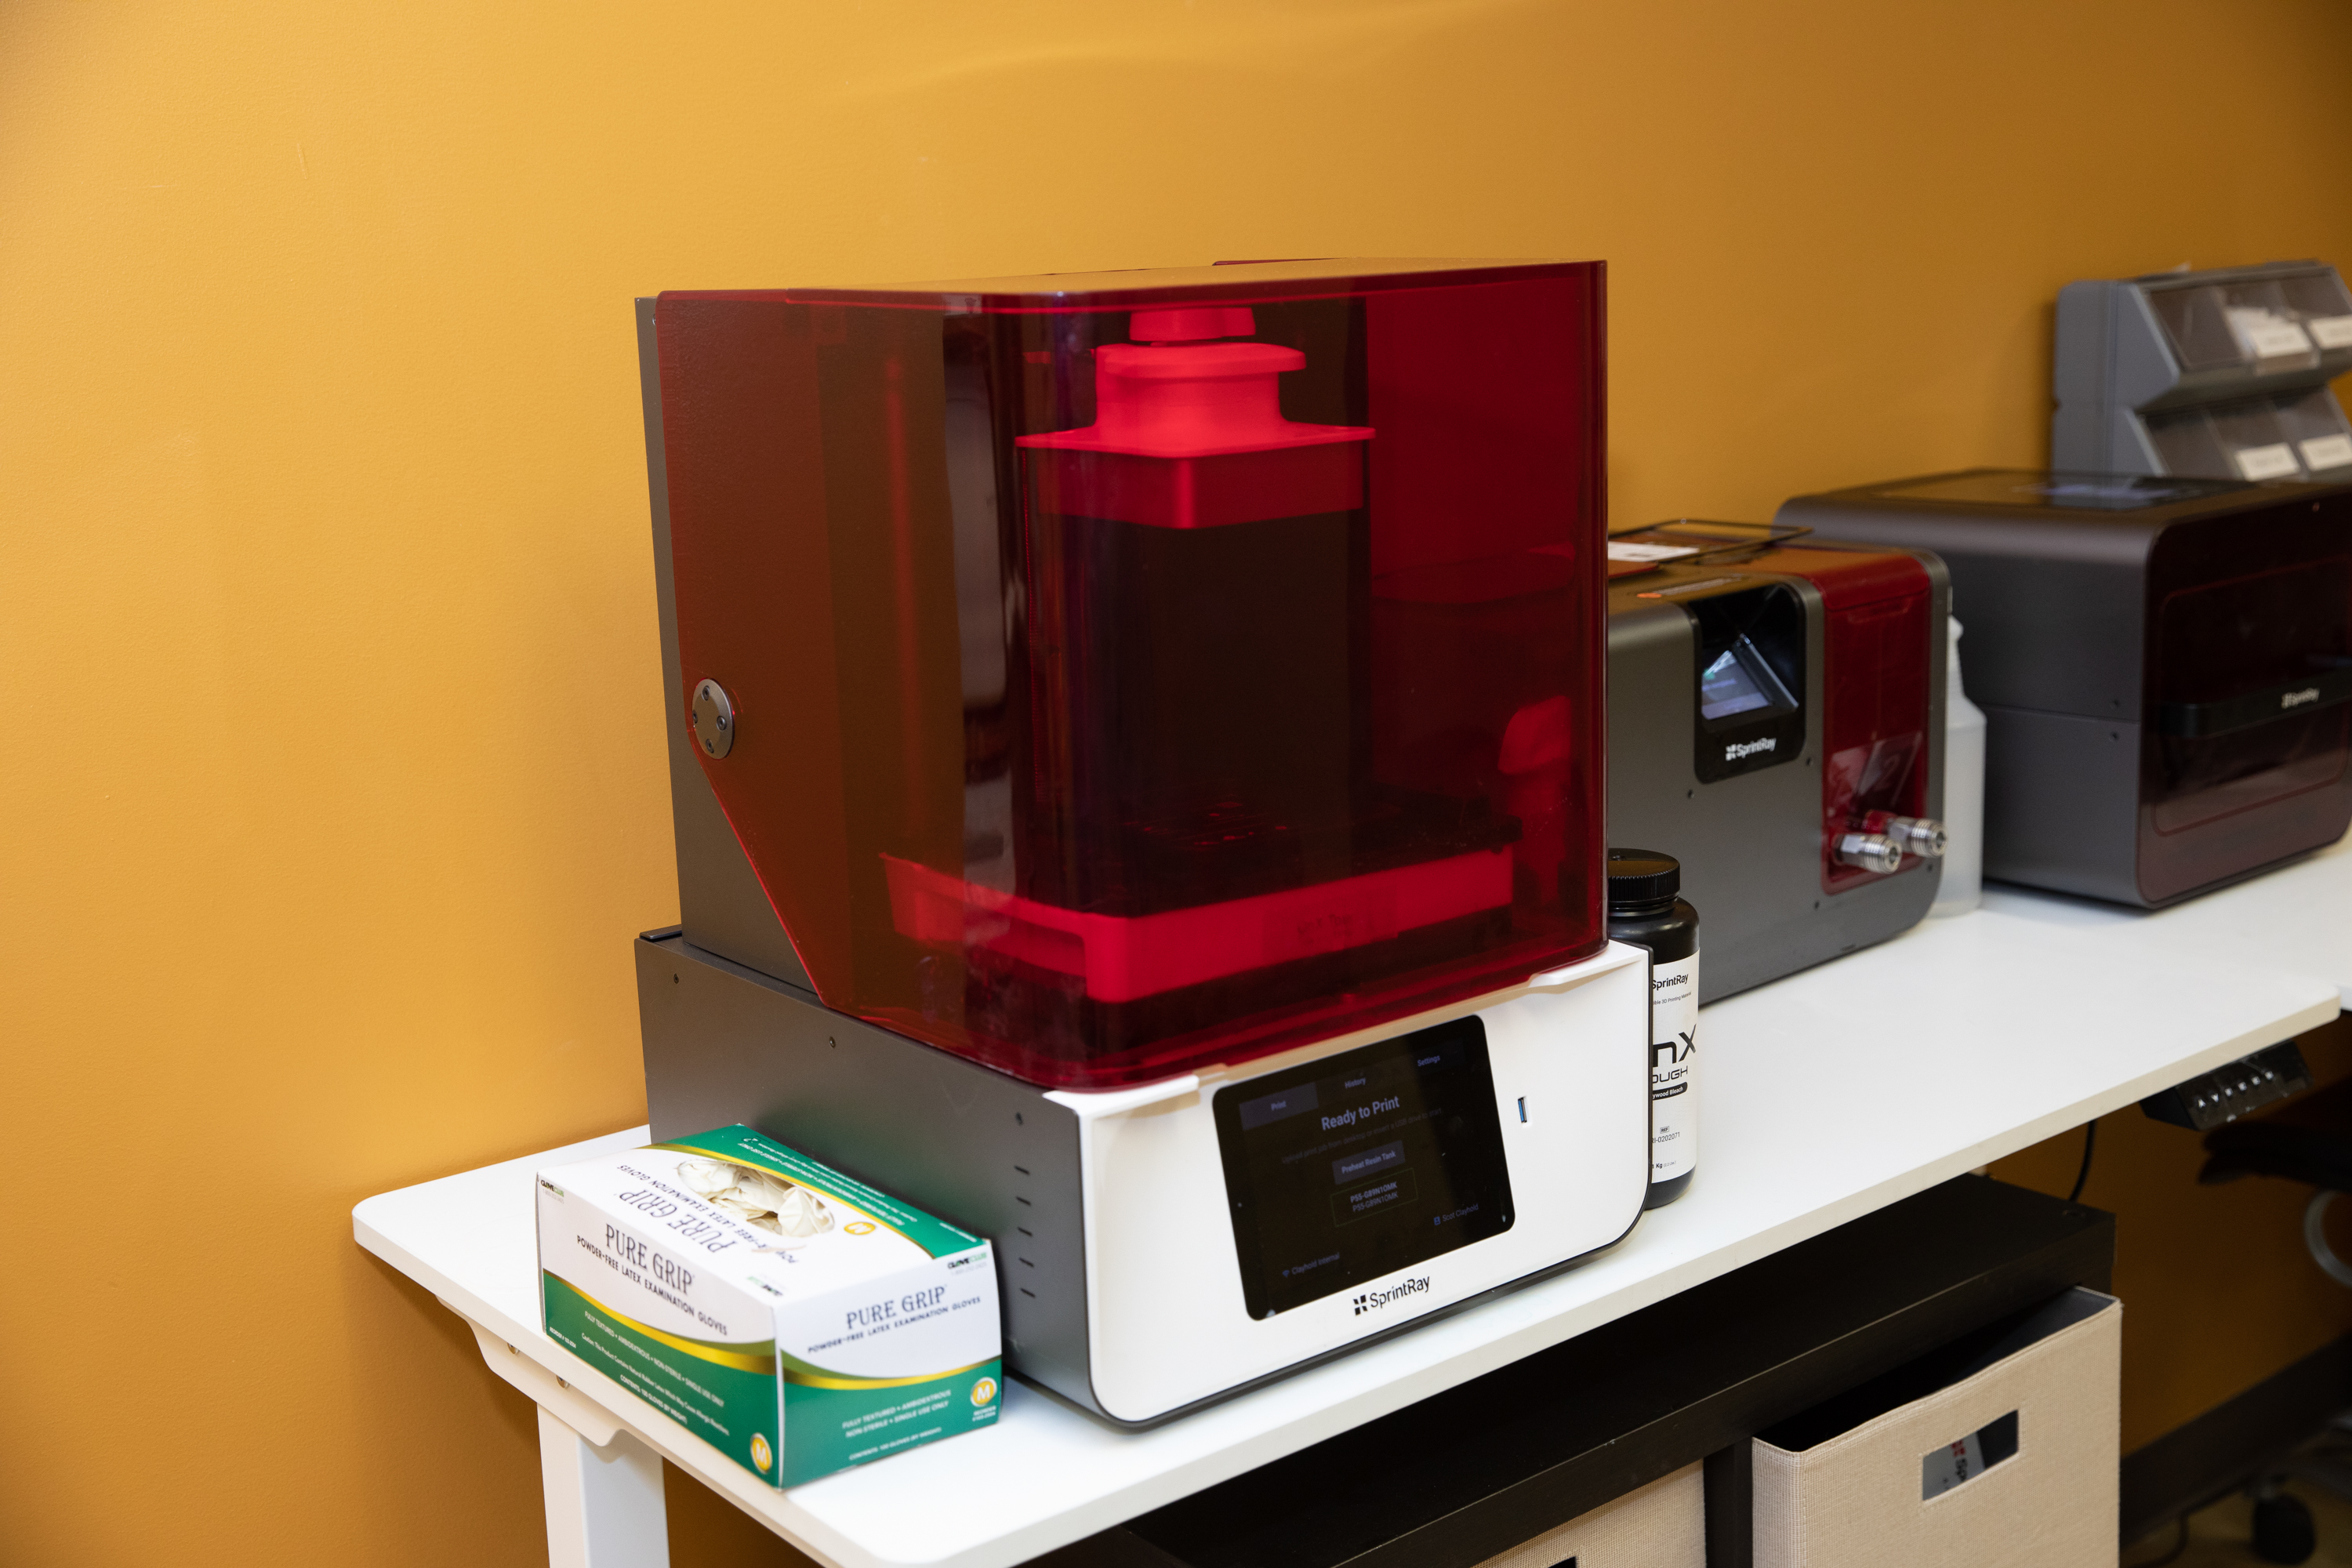
SprintRay 3D printing explained
A dental 3D printer builds custom items layer by layer using light-cured resins designed for clinical use. When paired with a digital scanner and design software, the SprintRay system can produce accurate models, night guards, whitening trays, surgical guides, and other appliances. This digital dentistry workflow reduces reliance on traditional impressions and mailing to off-site labs for many indications.
For patients in [city], Washington, this technology can shorten wait times and improve consistency. Dr. Clayhold captures a digital scan, designs the device on-screen, then prints and post-processes the item in the office. In simple terms, the printer converts your digital scan into a solid, custom device with a high level of detail.
How SprintRay can help you
- Faster turnaround for select devices, often within the same day or a few days depending on the case.
- Digital accuracy that supports a precise fit and fewer remakes compared with some traditional methods.
- Comfortable appointments because digital scans often replace messy impression materials.
- Predictable results through a controlled, in-office process from scan to finish.
- Streamlined follow-ups since adjustments and reprints can be managed quickly if needed.
Common applications include 3D printed night guards for clenching or grinding, diagnostic models for case planning, custom impression trays, and surgical guides used during implant placement. Some offices also fabricate provisional crowns or dentures components when appropriate. Not every situation is right for in-office production, so complex or highly esthetic work may still be sent to a dental laboratory.
The in-office 3D printing process
1. Digital scan: A handheld scanner captures a 3D image of your teeth and bite. This replaces most putty impressions.
2. Design: The team designs your appliance on a computer, setting thickness, shape, and fit according to clinical needs.
3. Print: The SprintRay printer builds the appliance using a biocompatible resin matched to the device type.
4. Post-processing: The printed item is washed and light-cured to reach its final strength and surface quality.
5. Finishing and try-in: Edges are polished, the fit is checked, and any adjustments are made before you go home.
This step-by-step approach supports accuracy and efficiency while keeping more of the work under one roof, typically from scan to delivery in a single visit or within a few days.
What to expect
Before your visit, keep your teeth clean and share any past issues with night guards or oral appliances, such as tightness or sore spots. At the appointment, expect a digital scan and a comfortable bite record. If your case is suitable for same-day dental appliances, you may receive the device at the end of the visit; more complex items may be ready in the next few days.
Once you receive your appliance, you will get clear instructions for wear and care. Clean most 3D printed devices with a soft brush and mild, non-abrasive soap unless advised otherwise. Avoid hot water, bleach, or alcohol-based cleaners that may damage the material. Store the appliance in a ventilated case, keep it away from pets, and contact the office if you notice cracks, rough edges, or a change in fit.
Lifespan varies by device and habits. For example, a night guard used nightly may eventually show wear marks and need replacement. Regular checkups help ensure continued fit and comfort.
FAQs
Expect a Higher Level of Care Here
Expect a higher level of care where advanced technology, precision, and personalized attention come together to support lasting oral health.